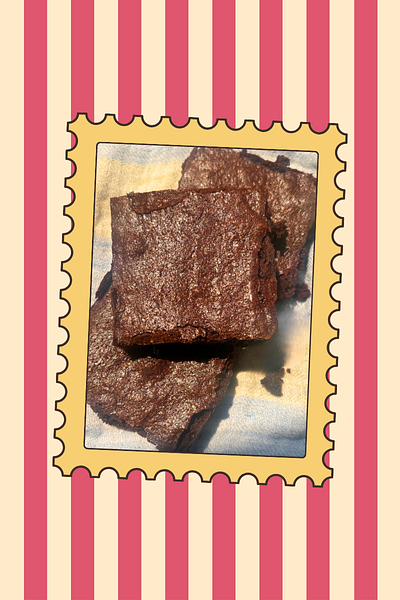
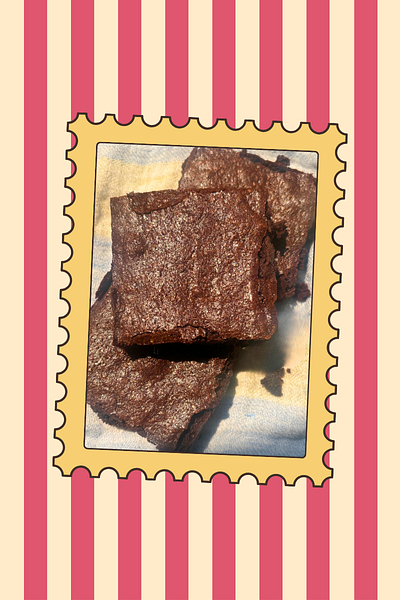
Kid Recipe: Choco Chocolate Brownies
A one-bowl brownie recipe designed to be simple, satisfying, and proudly homemade.


The brownies are almost as easy as a boxed mix but have a richer chocolate flavor. Plus, there’s something especially rewarding about sharing a dessert that you make from scratch. Measuring the ingredients, mixing the batter, and pulling the pan from the oven are all part of creating something with your own hands. You’ll only need one bowl and a handful of common ingredients, and there is very little cleanup. The extra effort is small, but the payoff is big.
These are called Choco Chocolate Brownies because they get their deep chocolate flavor from two kinds of chocolate: cocoa powder and melted chocolate chips. Together, they make brownies that are rich, fudgy, and extra chocolatey.
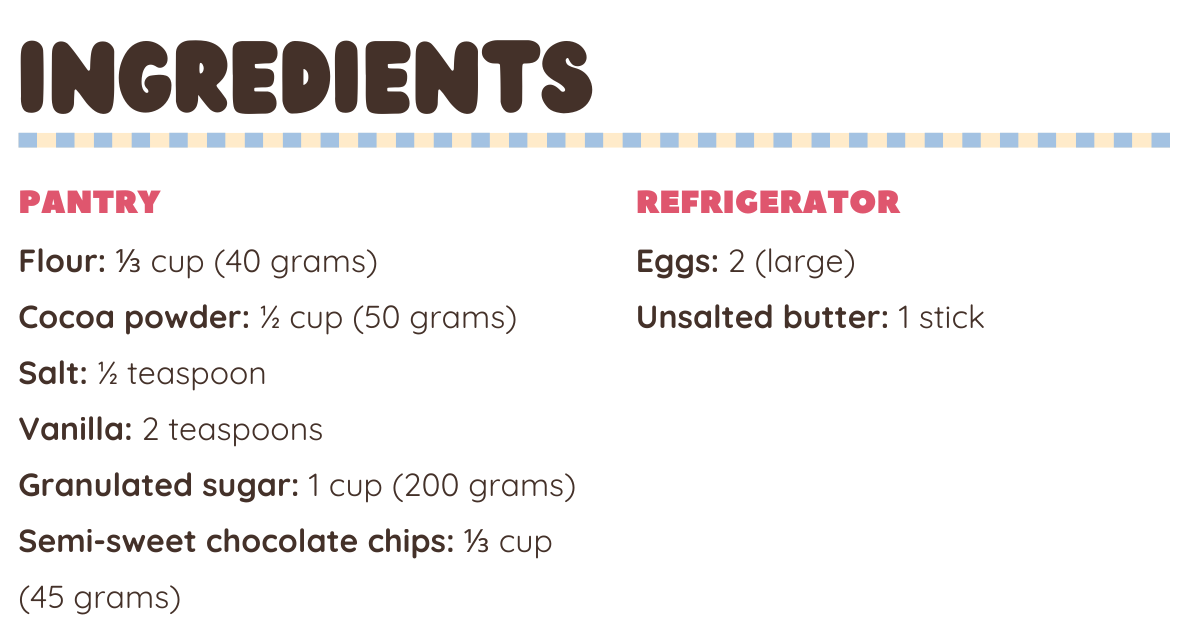


Cocoa Powder: Brownies are all about chocolate, so the cocoa powder you choose has a big impact on the final flavor. If you can, look for a Dutch-process cocoa powder. It has a smoother, richer chocolate flavor that makes these brownies especially delicious. If all you have is regular cocoa powder, don’t worry. Your brownies will still turn out great.
Semi-sweet chocolate chips: These brownies get their chocolate flavor from two places: cocoa powder and melted chocolate chips. The chocolate chips are stirred into the warm butter so they melt into the batter, creating an even richer chocolate flavor. You can substitute another chocolate if you’d like, but chocolate chips are especially good because their small size helps them melt into the hot butter quickly.

This recipe was designed around a simple question: Can making brownies from scratch feel almost as easy as making them from a box?
To make that possible, I looked for opportunities to remove unnecessary barriers without sacrificing the quality of the brownies. Everything happens in a single bowl, which means fewer dishes to wash and fewer opportunities to lose track of where you are in the recipe.
You’ll also notice a few small design choices throughout the recipe: Rather than mixing the salt with the flour, you’ll sprinkle it directly over the melted butter so it disperses evenly without needing another bowl to mix the dry ingredients. And instead of throwing away the butter wrapper, you’ll use it to grease the baking pan. Small decisions like these simplify the process while also showing kids how experienced cooks often make use of what’s already in front of them.
One of my favorite moments in this recipe is the one-minute egg whisking. As kids whisk, they’ll watch the batter change from thick and grainy to smooth and glossy. Experienced cooks rely on visual cues like this all the time. Rather than cooking for an exact amount of time or counting every stir, they notice how ingredients transform and use those observed changes to decide when they’re ready for the next step. Calling attention to these moments helps kids build those same observation skills.
Lastly, don’t pay too much attention to getting a clean cut of brownies. I considered writing strategies into the recipe or using a different greasing method to make the release easier, but those steps all felt cumbersome and ultimately unnecessary. Instead, I chose the simpler approach. The brownies may not have perfectly sharp edges when removed for the baking dish, but they’ll still taste wonderful, and kids can make them more independently from beginning to end.

Preview the recipe together and flag any steps where your child might need help.
Encourage your kid to try independently first and come to you when they need support; this builds confidence and problem-solving skills.
Microwave safety.
This recipe uses the microwave. Make sure your kid knows how to set it, what containers and utensils are microwave-safe, and how to safely remove hot items using a dry cloth or oven mitt. Once they’ve got those basics, the microwave can be a great tool for independent cooking.
Mixing takes time, trust the process:
The batter requires some good mixing, Some ways to support your kid as they mix are:
Set a short “mixing timer” (for example, 1 minute) and take turns mixing until it goes off.
Switch tools if needed.
Show your kid how to steady the bowl with their non-dominant hand while mixing with the other.
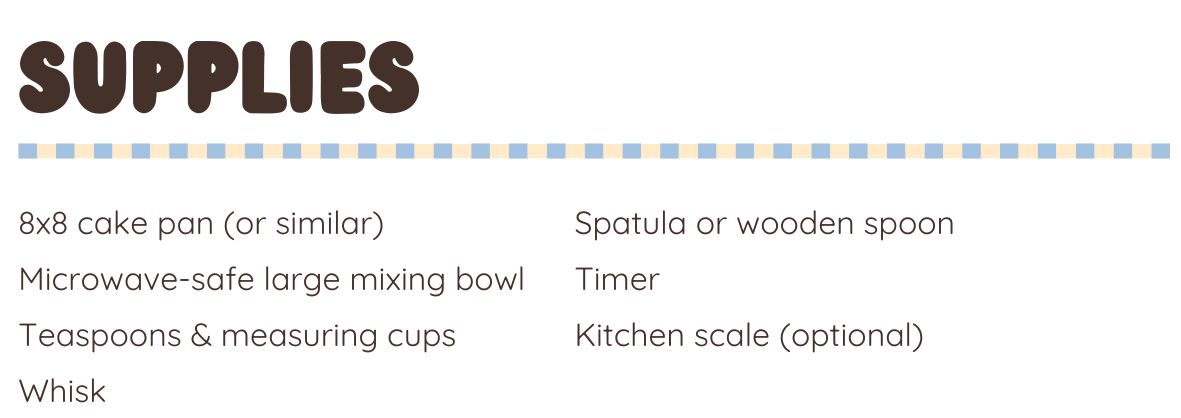
Place a kitchen towel under the bowl to keep it from sliding.