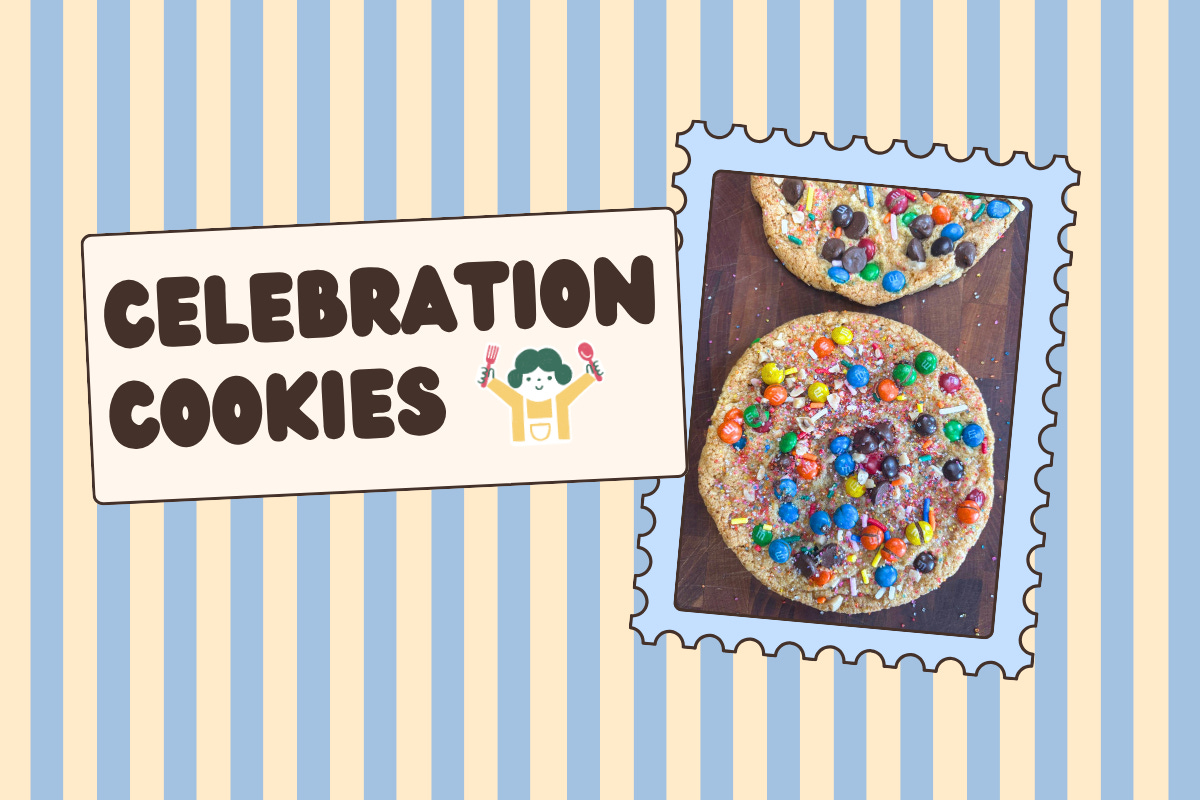
Kid Recipe: Celebration Cookies!
A New Cookie Built on Familiar Skills

These cookies are made for celebrating just about anything, birthday parties, New Year’s Eve, the last day of school, and, especially relevant, the Fourth of July.
If this recipe feels familiar, that’s by design. Celebration Cookies use the same cookie base as my Nibblings Chocolate Chip Cookies recipe. One of my goals with Nibblings is to help kids recognize patterns in cooking and baking so they can become increasingly independent in the kitchen, no matter what they’re making.
This recipe is a prime example. Your kid will repeat much of the same process they already know if they’ve made the Nibblings Chocolate Chip Cookies before: melting the butter, mixing the dough, scooping the cookies, and baking them. Then, instead of mixing the toppings into the dough, they’ll add them halfway through baking. It’s a small change, but one that creates an entirely different cookie.
Learning often works this way. We rarely start from scratch. Instead, we build on what we already know, make small adjustments, and transfer familiar skills to new situations. Over time, those experiences allow us to be confident in what we know and how to apply it. If your kid has already made the Chocolate Chip Cookies, they’ll feel more confident tackling this recipe. And if they start here first, they’ll have a strong foundation for trying the chocolate chip version next.
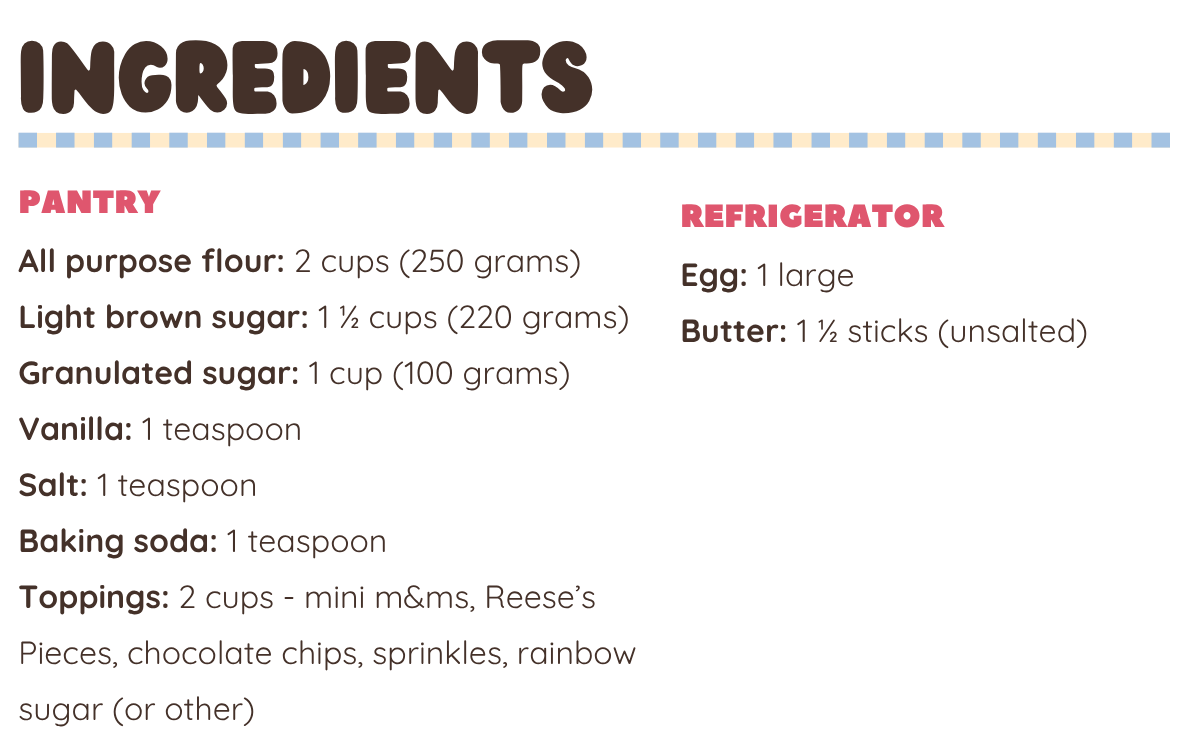


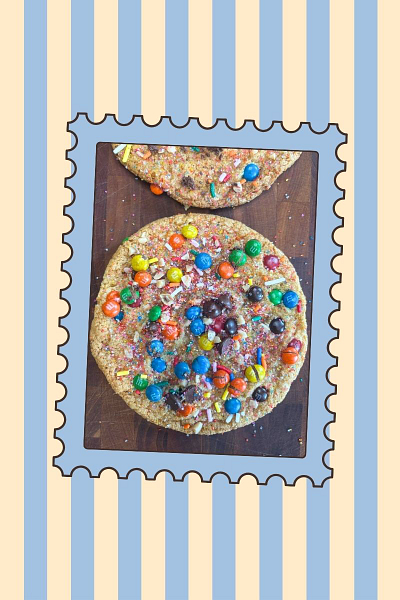
Toppings Mix The “celebration” in these cookies comes from the colorful topping mix. Use whatever you already have in your pantry or pick up a few fun additions. Mini M&M’s, Reese’s Pieces, sprinkles, rainbow sanding sugar, chocolate chips, or any colorful candy pieces all work well. Your kid will mix everything together into one festive topping. You’ll need about 2 cups total, so have fun creating your own combination.
Butter: We’re using one and a half sticks of unsalted butter. The exact measurement isn’t too important. Instead, it’s an opportunity to see fractions in action. Let your kid use a butter knife to find the halfway point on the stick and slice it in half. It’s a small moment of independence and a real-life math connection: seeing the whole and dividing it in two equal parts. It means less measuring and a more streamlined process.
Light Brown Sugar: Brown sugar can be clumpy and stubborn. Mixing it into the warm melted butter helps soften those clumps before the other ingredients are added. It’s a small design choice, but one that makes the mixing process a little smoother while still giving kids the satisfaction of doing the work themselves.

One of the best ways to become a stronger cook is to revisit recipes you’ve already made. Familiarity frees up mental energy. Instead of spending all your attention remembering the steps, you can focus on the new parts of the recipe and notice what makes them different. This is how we become experts, and it’s why I chose to build this recipe from the Nibblings Chocolate Chip Cookie recipe.
This recipe starts to go in its own direction right before the dough is rolled into balls. To ensure the cookies don’t spread too much in the oven, kids will put their dough in the freezer and set a 5 minute timer. Rather than treating that wait time as downtime, I designed it as an opportunity to begin tidying the workspace and get a head start on the cleaning. Cleaning is an essential part of cooking, yet it’s often left out of recipes. Building it into the process helps kids see that cooking isn’t finished when the cookies go into the oven. Read more about how to establish good clean up practices in my article here.

Preview the recipe together and flag any steps where your kid might need help.
Encourage your kid to try independently first and come to you when they need support; this way, they can work on their problem-solving skills.
Look out for the “Grab Your Grown-Up” moments. If your kid is ready to handle the oven safely, let them know. Relax and enjoy stepping back!
Mixing takes time, trust the process:
This dough requires some strong mixing, and it might not look like it’s coming together at first. This is a wonderful moment to teach perseverance and problem solving. Some ways to support them:
Set a short “mixing timer” (for example, 1 minute) and take turns mixing until it goes off.
Switch tools if needed. Hands are a great mixing tool!
Show your kid how to steady the bowl with their non-dominant hand while mixing with the other.
Place a kitchen towel under the bowl to keep it from sliding.
Watch out for hot baking pans!
Your kid will sprinkle the toppings on the cookies while they’re sitting on a hot baking sheet. Before opening the oven, clearly point out which parts of the pan are hot and where it’s safe to reach. A quick reminder to “keep your hands high” might be all that a careful kid needs.